Every manufacturer knows that eliminating waste via process improvements reduces costs. They also know that removing variation in processes results in the most accurate and repeatable product.
The experts at United Scientific have incorporated continuous process improvement throughout the shop because they want to produce the highest quality part at the lowest cost.
Read on to learn more about applying process improvement techniques to the CNC Machining process. Then contact United Scientific to get started on your next component manufacturing project.
What is Process Improvement?
Process Improvement is just what it sounds like. It is looking at the processes involved in running your business, from accepting customer orders to moving materials in the warehouse, to the machine settings used to fabricate a part, and improving them.
You can implement many Process Improvement tools on the shop floor. These tools are grouped into broader improvement categories such as Lean and Six Sigma. These quality methods utilize tools such as 5S, Kanban Systems, Single Minute Exchange of Dies, and Standardized Work, among many others.
Below, we’ll cover a variety of these tools that are most commonly put to use when machining parts. To see any of these continuous improvement tools in action on the shop floor, contact USI to get a quote on your next component fabrication project.
It takes teamwork
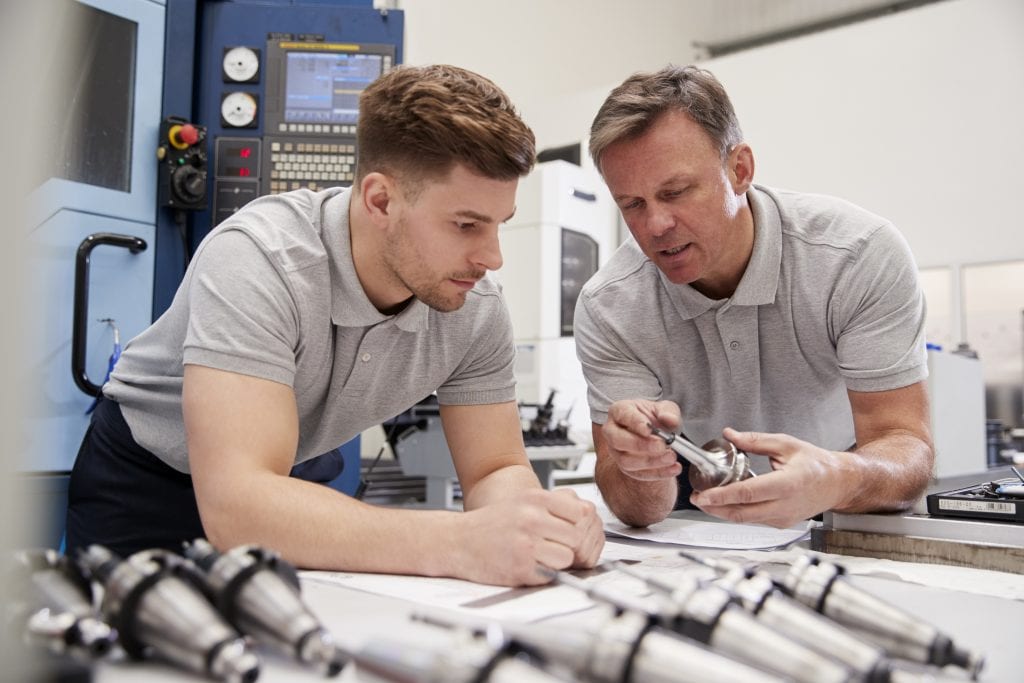
Process Improvement takes a team effort. Gathering stakeholders in different departments around the company with varying levels of experience will enhance input for improvements.
Pulling in members from adjoining functions like material handling and accounting can round out improvements for optimal efficiency in production.
It’s imperative to include someone from the finance side of the business. Being efficient on the job floor usually requires requesting materials and closing jobs in a cost tracking system.
Be sure to include someone with an in-depth understanding of the specific steps required to issue materials or close a shop floor job, to track costs correctly.
Another added benefit of including personnel not directly involved in the machining process itself is that they provide fresh eyes and a new perspective. Inviting innovation means thinking outside the box without judgement until reaching team consensus on the best process.
Be sure also to include those experienced in the process. People with expertise, experience, and longevity can remind everyone of past lessons learned.
Improving the “wheel†over reinventing it may be the goal of process improvement. However, re-creating all the failed models along the way is best avoided.
Always be on the lookout for whether the “wheel†is in fact obsolete and easily replaced by something entirely different. A key takeaway for process improvement is staying flexible in your approach.
Define your problem
Figure out if you are solving a problem from a 10,000 ft perspective or a 10 ft perspective. For example, are you trying to determine why production output has decreased by 10% in the last quarter (10,000f t)? Or, do you wonder why machine #3 only yields 80% accuracy when fabricating part XYZ (10 ft)?
Defining the problem also prevents “scope creep†from occurring, so your end product doesn’t turn into a 300-page manual. Keep your areas of process improvement precise and clear. Now, write a brief description of the problem and include:
- the metric used to measure the improvement,
- where the problem is occurring,
- the time frame over which the problem has been happening, and
- the magnitude of the problem.
Select your process
Before you can choose which process improvement tool to use, understand the strengths of each tool. Let’s look at a few here.
Is/Is Not Matrix – is often used to help define the problem. In simplest terms, look at what, why, when, where, who, and how, and ask what is it and what is it not? Where is it? Where is it not?
Write a concluding statement to each of the questions above to define your overall project scope and potential first steps.
Follow up this particular exercise with another process improvement tool like the 5 Whys or the Fishbone Diagram.
5S – is a process for Sorting, Setting in order, Shining, Standardizing, and Sustaining your work environment. It eliminates waste and lost time due to a poorly organized work area.
Check sheets – also referred to as location or concentration diagrams, are used to collect and display data. The data collected can be used to identify the location of an issue, the frequency, patterns in defects or downtime, etc.
Overall Equipment Effectiveness (OEE) – provides a measure to track how well you eliminate waste from the process. Check out this article for a more in-depth explanation.
Bottleneck analysis – finds the weakest link in the manufacturing process.
Value stream mapping – charts a current state and a future state and then provides a means of mapping out how to eliminate waste and make process changes to reach the optimal future state.
Fishbone Diagram – starts with listing out a problem definition in the head, then identifies the significant factors involved. Included in the diagram and manpower, method, material, and machine as major bones. In a fishbone diagram, you’ll continue creating “bones” off of each of the significant factors and identify causes to eliminate.
Plan – Do – Check – Act (PDCA) – applies scientific experimentation methods to a manufacturing process. First, propose an improvement (Plan), then implement the improvement (Do), evaluate the results (Check), and refine and propose new changes (Act).
Spaghetti Diagram – provides a map of the physical flow that material or documentation travels throughout a manufacturing process. This diagram can be useful in identifying wasted travel times or ways to streamline complexities.
All of these processes are helpful in both micro and macro levels of manufacturing. For example, 5S could review the entire production floor layout, or it could look specifically at the tool and material locations around a given machine.
Be better!
At United Scientific, we use process improvement to create parts with a 99-plus percent accuracy factor and yielding only 131 defective parts per million. For superior accuracy, and high quality, precision parts, contact United Scientific.
Let their experience in process improvement make your next project outcome the best it can be.


